
Print
Pin Project
Add to favorites
 Start Project
Sew a Pretty Linen or Vintage Floral Christmas Stocking (free pattern included)
My gift to you this holiday season, a free Christmas stocking sewing pattern and tutorial so you can make a lovely family heirloom. This is an easy and quick project you can sew in an afternoon. I hope you enjoy making these beauties as much as I have! To begin, here is a supply list of what you will need:
Start Project
MATERIALS
- 2 pieces Fabric for the stocking (linen) Minimum 14"x22" each (front and back)
- 2 pieces Lining fabric Minimum 14"x22" each (front and back)
- 2 pieces Floral Fabric (alternative to Linen) Minimum 14"x22" each (front and back)
- 1 Stocking Pattern download and print the free stocking pattern shown from the subscriber library
- 1 spool Thread your choice of color
- 1 yd Mini Pom Pom Trim (optional)
- 1/2 yd Velvet Ribbon Your choice of color
- 1 sheet Linen Card Stock for Name Tag (optional) download and print free tags from the subscriber library
INSTRUCTIONS
- Download the stocking pattern which is accessed in the subscriber library.
- Print out the stocking pattern PDF (which contains 4 pages you will cut and assemble). Print at 100%.

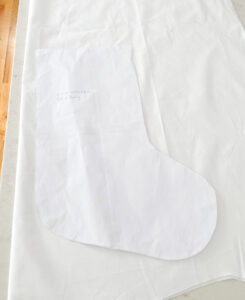
- Cut out each stocking piece and tape together.

- Pin your pattern to the fabric and cut two pieces (for front and back).
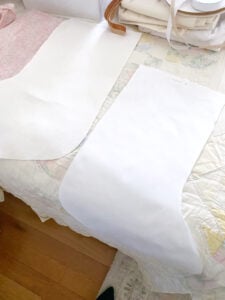
- Then using the same pattern, cut two of your lining fabric.
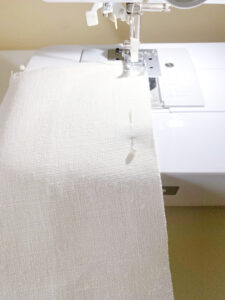
- Start with the outer fabric and with right sides together, sew 1/2 inch all around the fabric (three sides), leaving the stocking top open.
- Clip the curves slightly to allow fabric to lay flat when turned to right side.
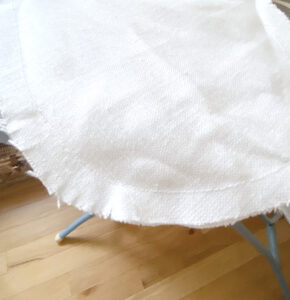
- Turn the stocking to right side out. It will look lumpy, but when ironed it will flatten out nicely.
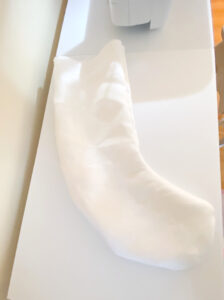
Create the Ribbon Hanger Loop.
Begin by cutting 6 inches of ribbon.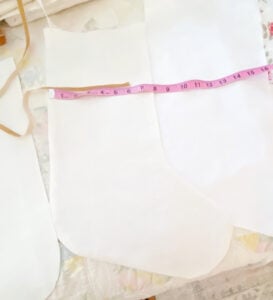
- Pin the hanging loop to the edge of the stocking top at the seam. To help keep the fabric from fraying at the top, zig zag stitch all around the stocking top; sewing the hanging loop into place. Be sure the loop faces down into the fabric (as shown).
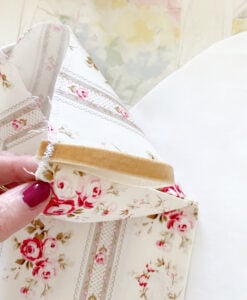
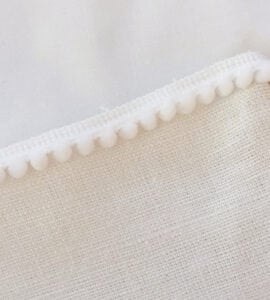
- Next, pin the pom pom edging to the right side of fabric with the poms facing down. Start pinning at the loop and continue around until the ends meet.Then, sew the pom pom edging to the stocking

- This is how it will look when the pom pom edging is sewn in place (linen fabric stocking shown).
- Time for sewing the lining. With right sides together sew the two pieces of lining, the same as before, leaving the the top open. But this time be sure to leave an approx. 4 inch gap on the long portion between the top and toe (see photo). The gap will be sewn later.
- Then stuff the previously sewn outer fabric stocking – INSIDE of the lining you just made. Pin then sew the outer fabric stocking (with pom pom trim) to the lining fabric, at the top. This will be three layers: the outer fabric, pom pom trim, and the lining fabric. Take your time with this. Go slow with the sewing machine to be sure all layers are sewn.
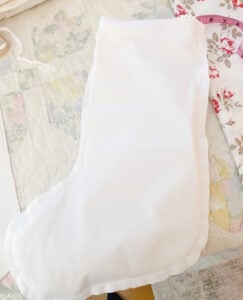
- After sewing the stocking to the lining, use the 4 inch gap in the lining and turn it right side out. When turned it will look like this below.
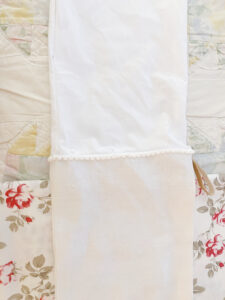
- Sew the opening of the gap either by hand or machine. It does not need to be perfect as this will not show when tucked back into the stocking.
- Tuck the lining into the stocking, and press the entire stocking with a hot iron. The pom poms should now look like this (see photos) along the top, with the hanging loop in its proper place.
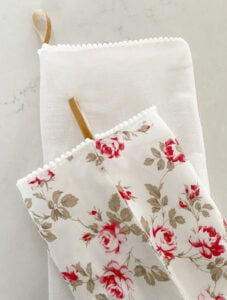
- Finish by adding additional ribbon and tags, as desired (see photos below). To use the stocking tags provided in the subscriber library, simply download and print (using a heavy weight linen paper) on your home printer. Cut out and punch a hole at the top. Insert velvet ribbon and tie with a bow.

You will have 4 pieces of cut fabric. Two of your outer fabric, and two of the lining.
