Adding Pinch Pleats to Ready-Made Curtains
Today I have an easy sewing tutorial on adding pinch pleats to ready-made curtains. Anyone can do this – I promise. To get this look you will need:
- ready-made curtains
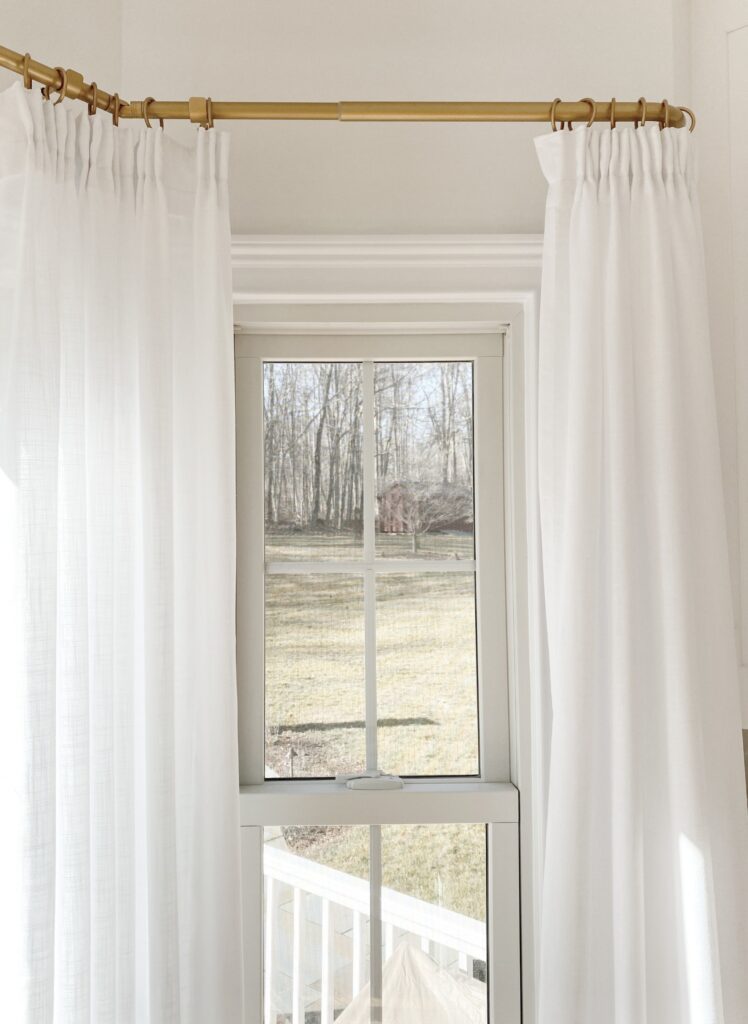
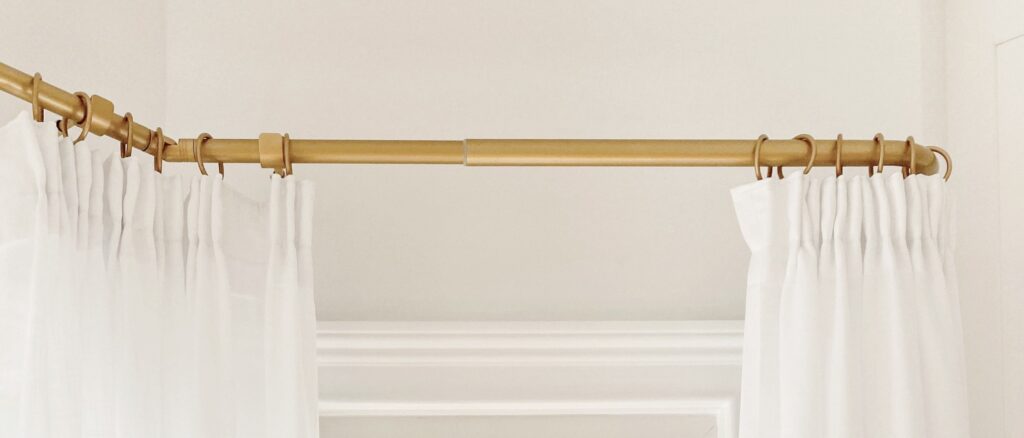
- curtain rod or Bay window Curtain Rod (as shown)
- eyelet rings (instead of clips)
- pleat tape
- long neck pleat hooks
- sewing machine and thread
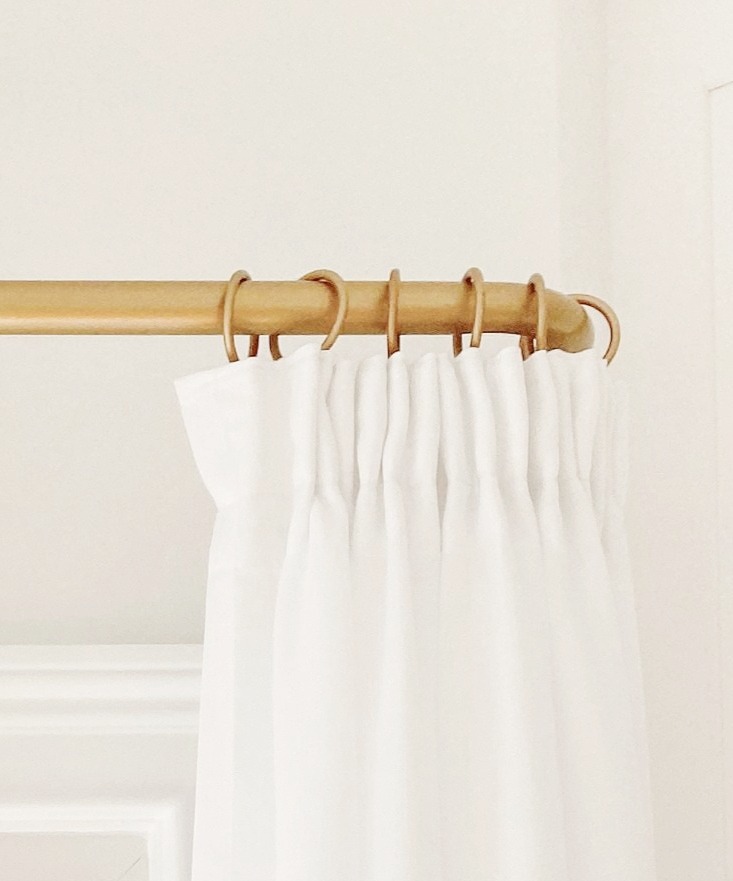
This simple technique adds so much character to curtains; giving a clean custom-made finish. I just love how it looks. To make these yourself, follow my easy instructions to follow.
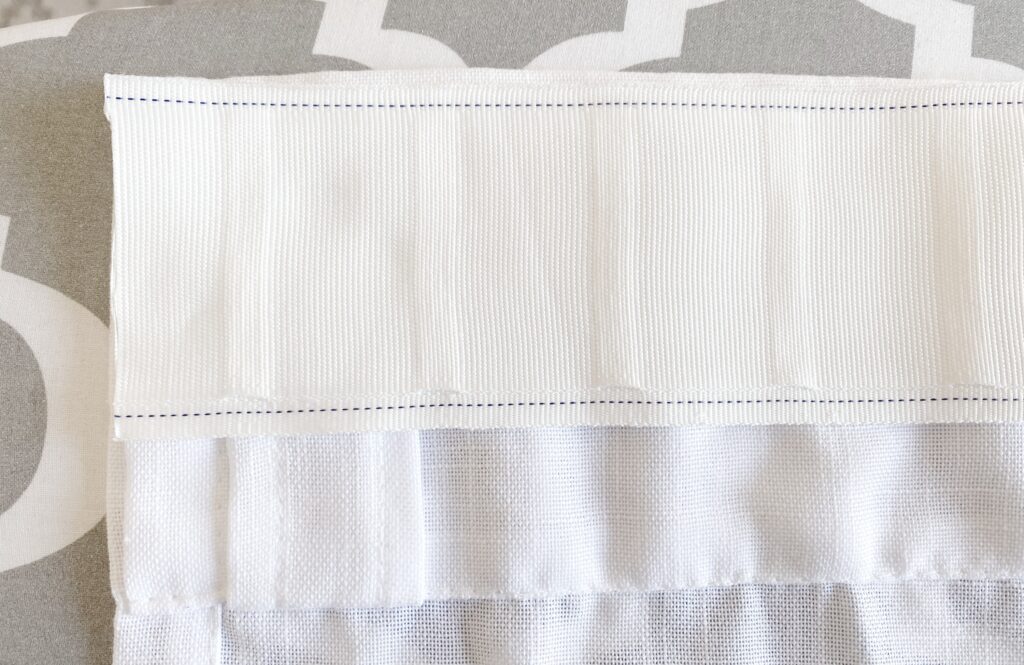
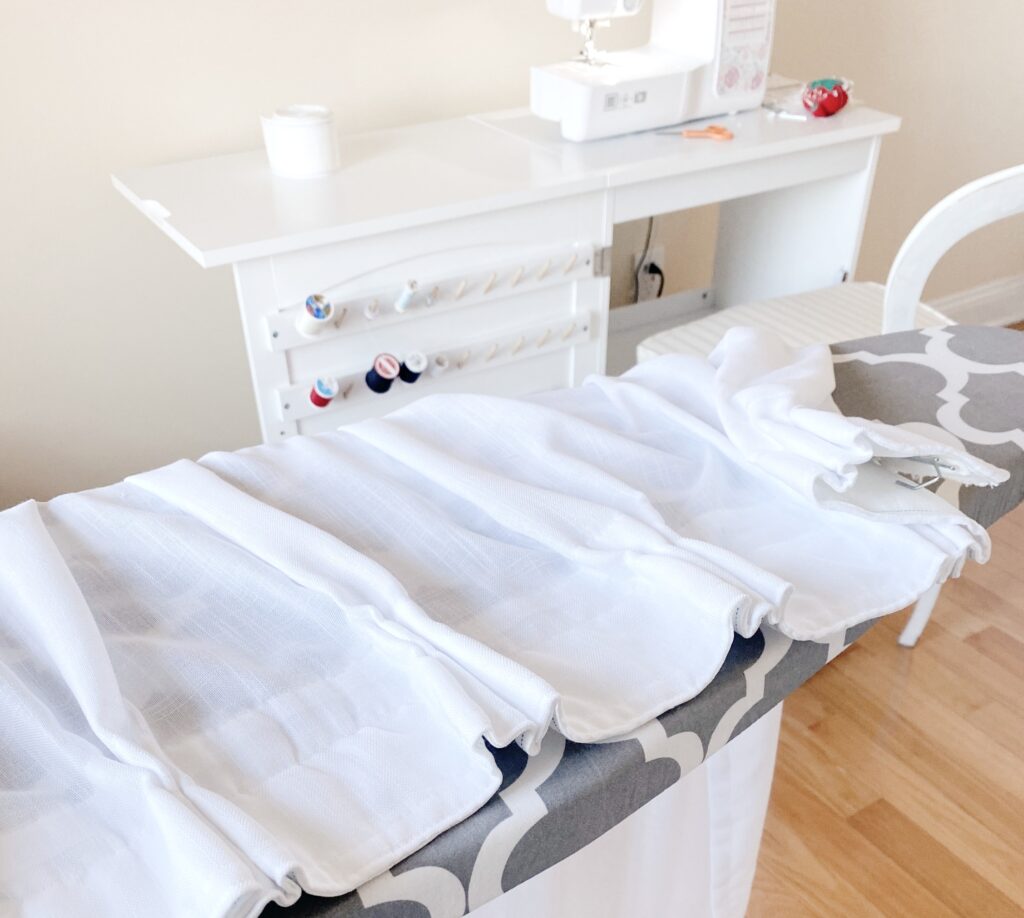
Begin by measuring pleat tape
After ironing your curtains, lay them out flat and cut the pleat tape to fit the entire width. For this project I purchased white linen-polyester blend curtains from Amazon. The quality and appearance are very nice (inexpensive too!) and turned out to be perfect for this sewing project. The curtains are about 52 inches wide, so I cut the same width of pleat tape. Match up the pleat tape with the top of the curtains, being mindful that the tape does not extend beyond the upper curtain fabric or extend beyond the width. Before pinning to the curtain, it’s a good idea to sew a zig zag stich across each cut end of the pleat tape, to ensure it does not unravel. Pin the pleat tape to the top of the curtain. Notice the little hole pockets on the pleat tape are face up and at the bottom.

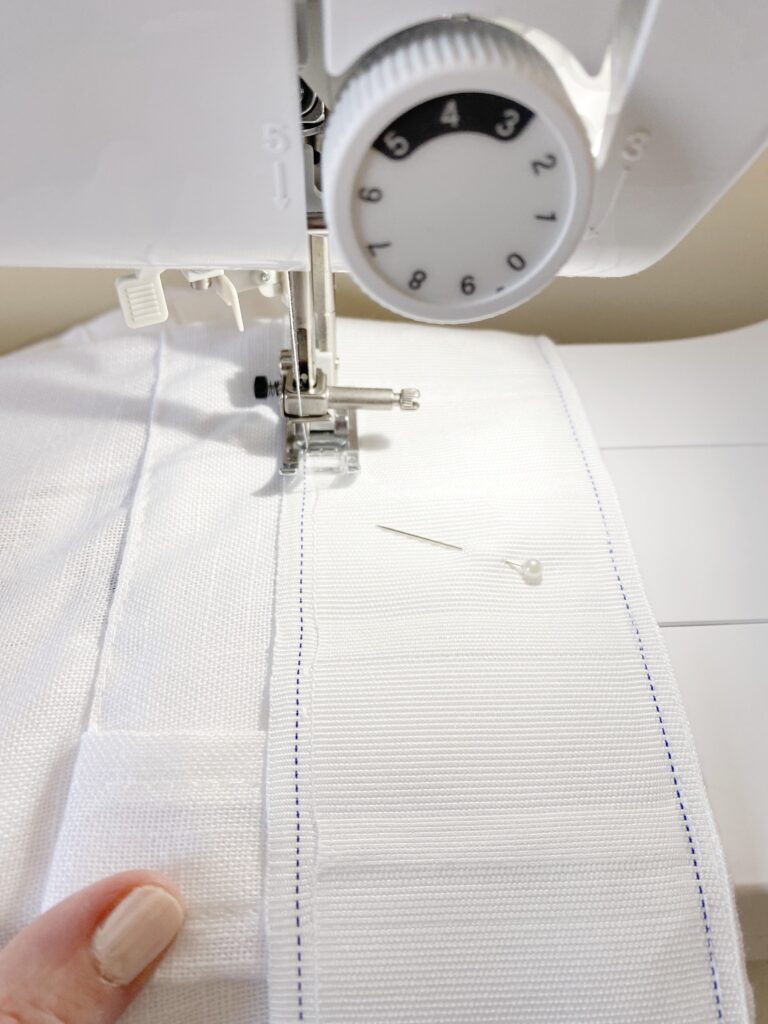
Sew the pleat tape to the curtain
Straight stich the pleat tape to the curtain on both sides. The pleat tape I chose includes sewing lines which helps in sewing straight lines in the correct location. Sew carefully being sure to avoid sewing over the little pocket at the bottom.
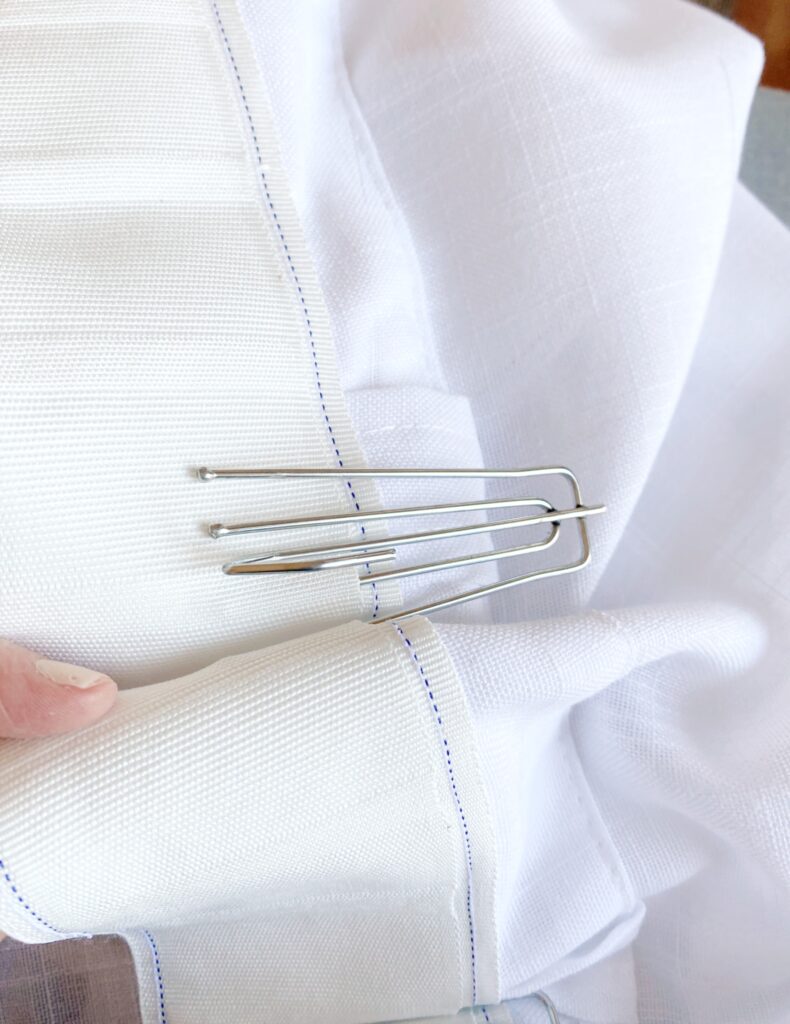
Insert the pleat hooks
Each long neck pleat hook has 4 prongs and a hook in the middle. Beginning with the first pleat pocket, insert one prong. Work your way down the fabric to insert the 3 remaining prongs into the next 3 pockets, pinching the fabric along the way to help form the pleats. One prong per pocket.


Slide the hook into the pockets as far as you can. This can take some adjusting to get them in correctly, but you will get the hang of it. To add the next hook, skip three pockets, and repeat. Keep repeating this with a new hook until you reach the other side of the fabric. It’s ok if you end up with extra fabric or pocket at the end. If this is the case, add an extra un-pinched hook to accommodate the gap. This should look unnoticeable after hanging.

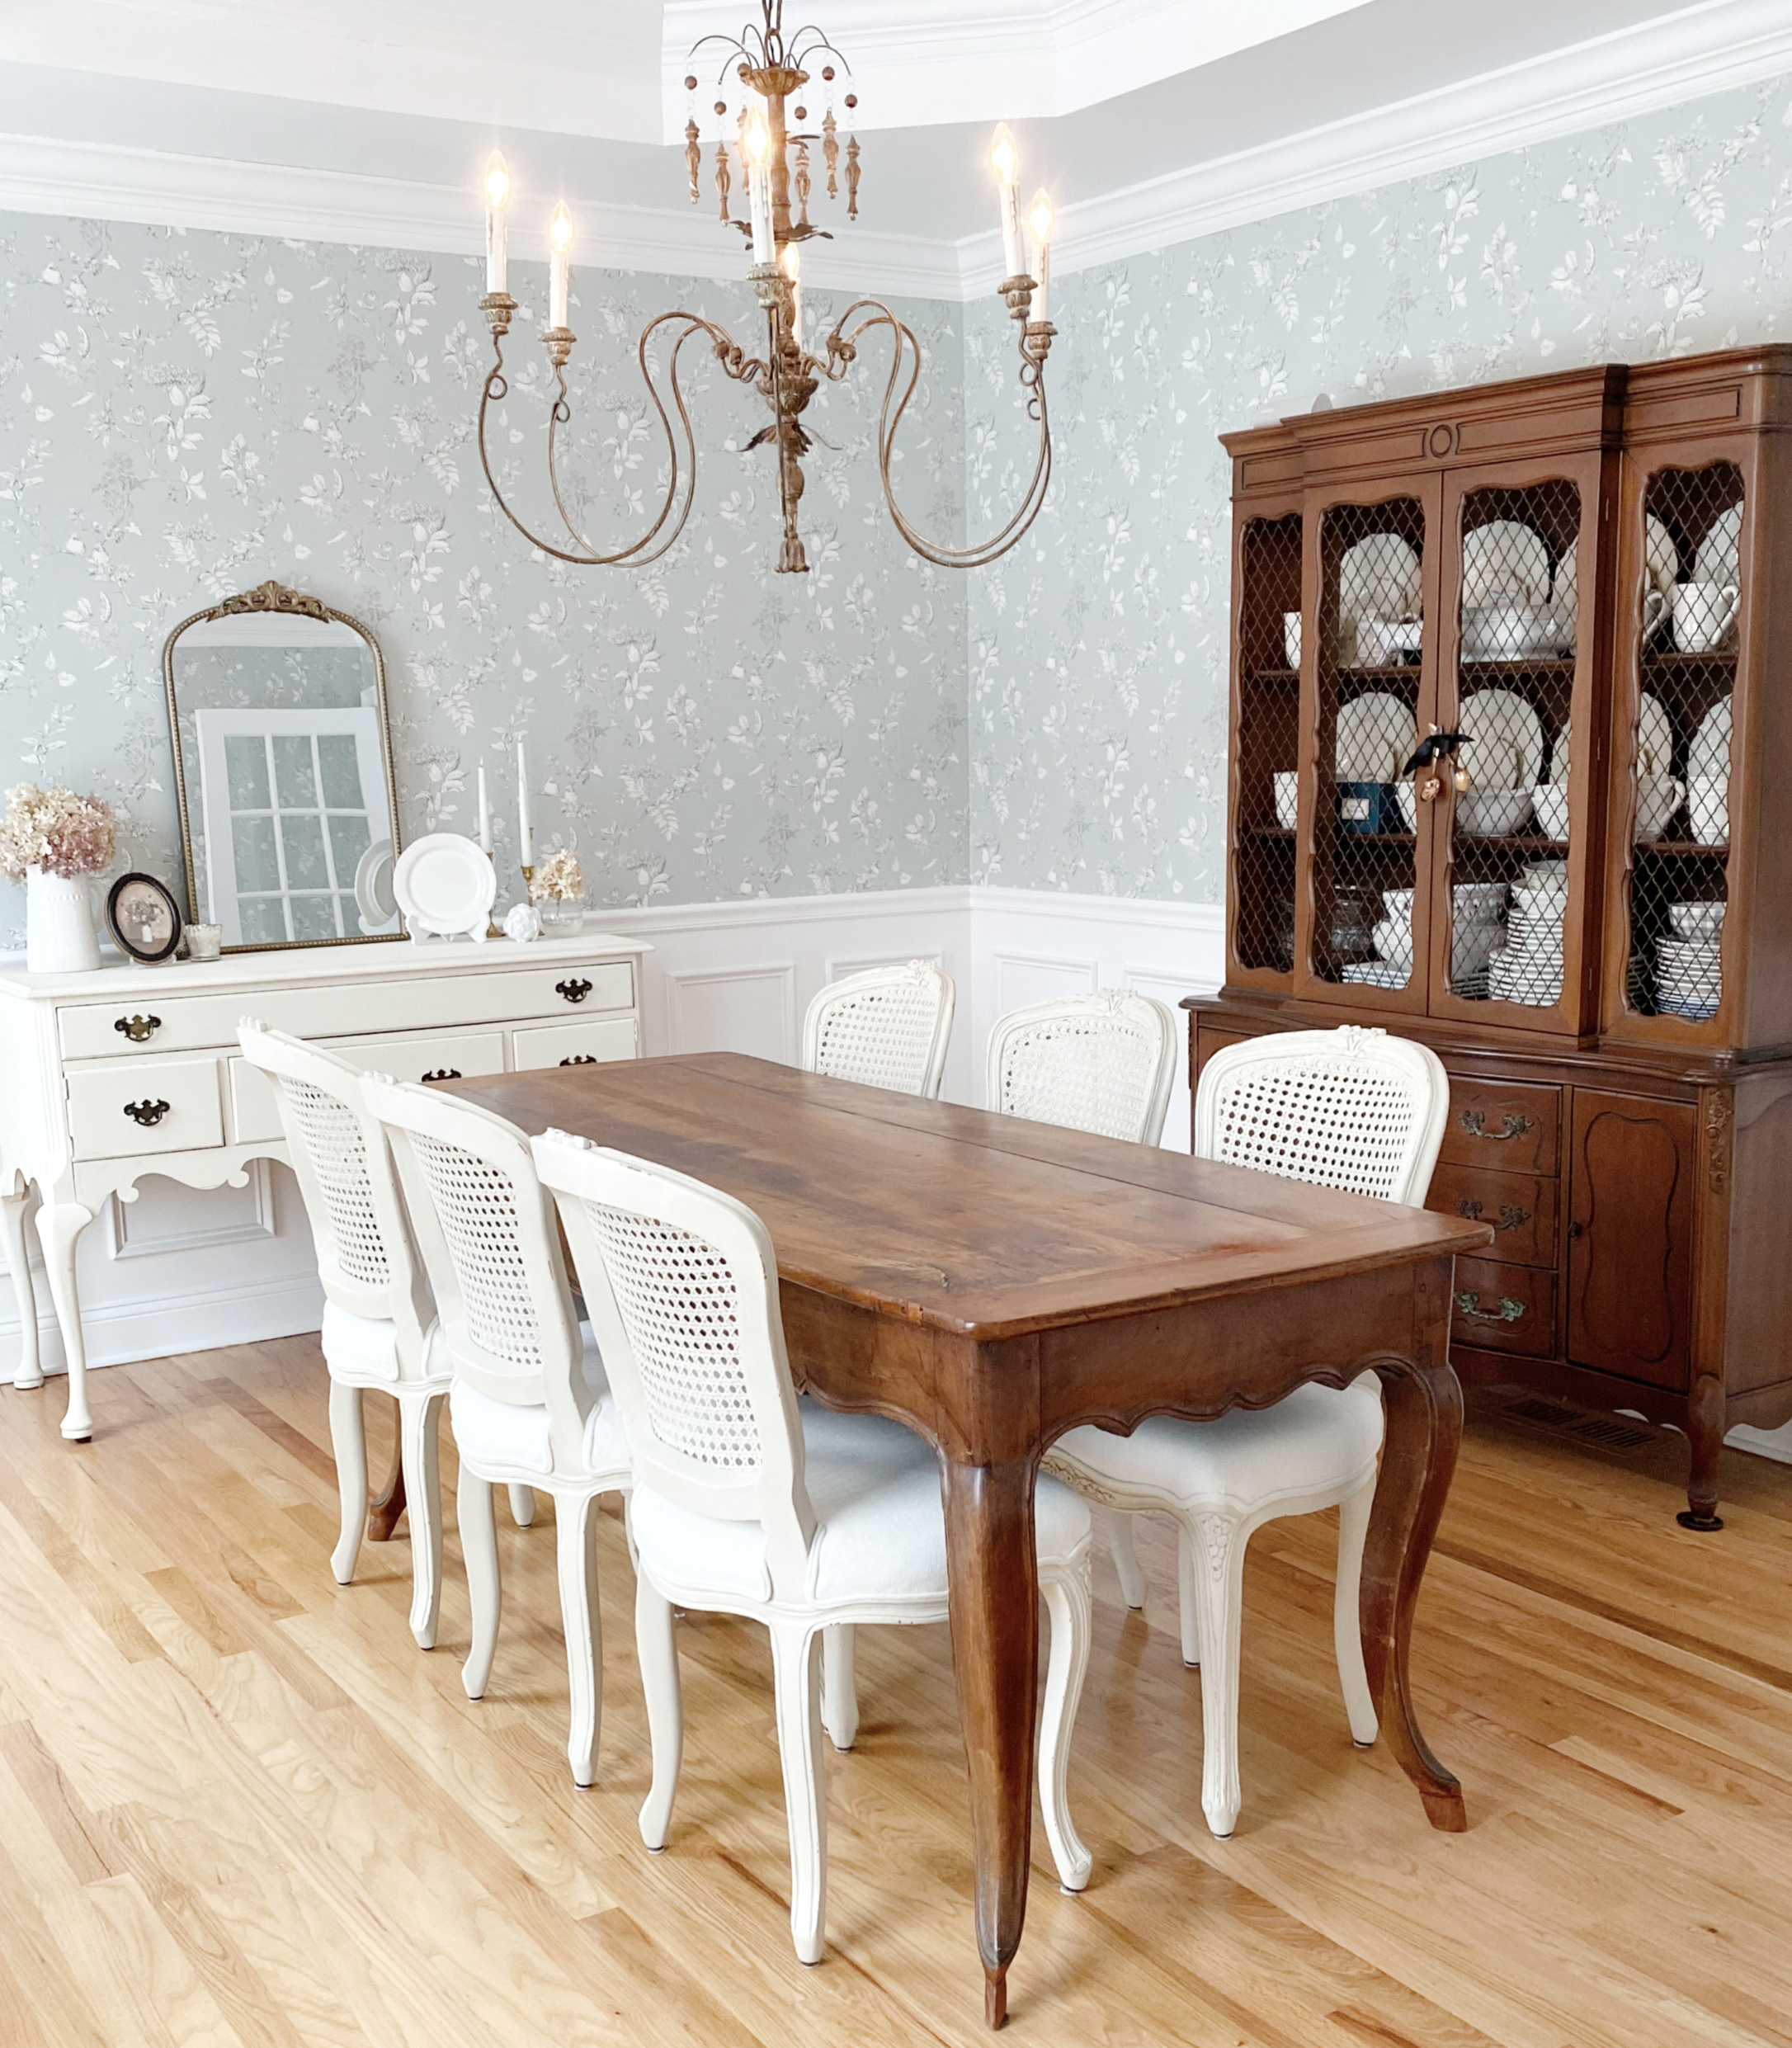
Finishing and hanging
After all the hooks have been inserted, iron the pleats a bit so they lay together neatly. To hang the curtains, put the eyelet rings onto the curtain rod first. Then hang the curtain by inserting the pleat hooks onto the eyelet rings. Adjust the width as desired and you are finished! Stand back and admire your lovely new curtains.


Additional Tips
Keep in mind that adding pleats will create a much more curtain narrow width. If you are using the curtains to cover the entire width of a window, you will need extra curtain panels to do so. If you plan to hem your curtains, measure after hanging then sew your hem accordingly. For the curtains shown here, I decided to let them puddle onto the floor for a soft flowing look.

I hope you enjoyed this curtain pleat tutorial. Good luck with your own project and please send me photos of your finished curtains. I’d love to see them!

Disclosure: As an Amazon Associate I earn a small commission from qualifying purchases. Buy purchasing items I list on my website, the commission received helps to cover costs of running and maintaining this website. I humbly thank you for your support!
Shop this Post